Working with NavigationLink is fine if you do not want to customize any behavior. But what happens if you want to? How to remove a disclosure indicator? We will try to demystify it in this article.
Let’s start with building a plain List:
struct BooksList: View {
    var books: [Book] {
        BooksMock.getBooks()
    }

    var body: some View {
        NavigationView {
            List {
                ForEach(books) { book in
                    NavigationLink(destination: DetailsView(book: book)) {
                        Text(book.name)
                    }
                }
            }
            .navigationBarTitle("Our list", displayMode: .large)
        }
    }
}
Also adding the Book object. It contains an ID and conforms to Identifiable protocol to identify List subviews.
struct Book: Identifiable {
    var id = UUID()

    let name: String
    let description: String
}
Along with Mock (why protocol implementation for mocking is important, is a topic to be discussed in the next article).
protocol Mock {
    static func getBooks() -> [Book]
}

struct BooksMock: Mock {
    static func getBooks() -> [Book] {
        [getBook(name: "Harry Potter and the Chamber of Secrets", author: "J. K. Rowling", description: "Fantasy"),
         getBook(name: "The Da Vinci Code", author: "Dan Brown", description: "Mystery thriller"),
         getBook(name: "The Alchemist", author: "Paulo Coelho", description: "Fantasy")]
    }

    static private func getBook(name: String, author: String, description: String) -> Book {
        .init(name: name, author: author, description: description)
    }
}
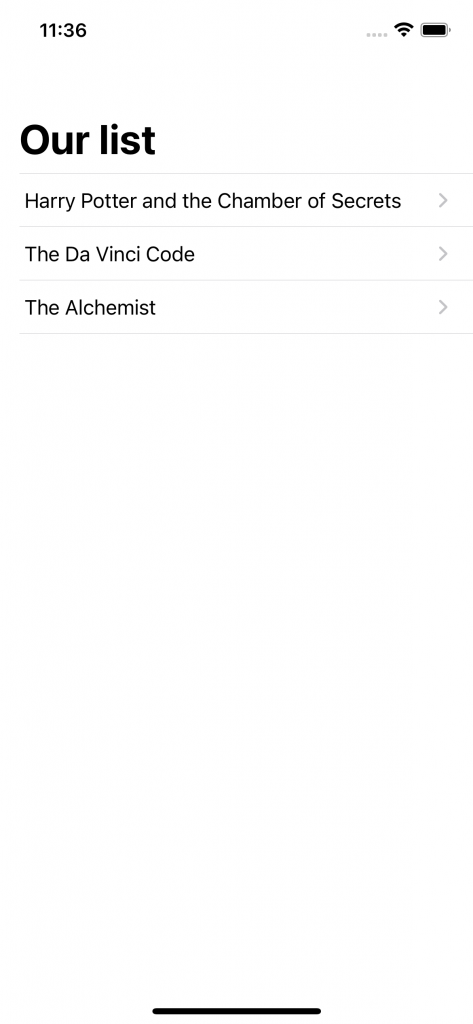
This plain implementation leads to the result including a disclosure indicator:
For better code readability we will group views. Let’s create a RowView and bind the selected item inside. We will also reorganize our view hierarchy in a list. Let’s have a button that will select an item on a button action. For its label representation, we will use plain decorated text.
Here comes the crucial part and how we should represent the behavior of NavigationLink. We will combine it as a background for the text, which will give us the effect that we are trying to accomplish. NavigationLink still handles the push navigation, but will not affect the UI part (only the logic of navigation).
struct RowView: View {
    @State private var selectedItem: UUID?
    let book: Book

    var body: some View {
        Button(action: {
            selectedItem = book.id
        }) {

            textDecorated
                .background(NavigationLink(destination: DetailsView(book: book),
                                           tag: book.id,
                                           selection: $selectedItem,
                                           label: { EmptyView() })
                                .background(Color.red)
                                .hidden())
                .contentShape(Rectangle())
        }
        .buttonStyle(PlainButtonStyle())
    }

    private var textDecorated: Text {
        return Text(book.name + " ") +
            Text(book.description)
            .bold()
    }
}
So on the high level List view, the code should look like this:
struct BooksList: View {

    var books: [Book] {
        BooksMock.getBooks()
    }

    var body: some View {
        NavigationView {
            List {
                ForEach(books) { book in
                    RowView(book: book)
                }
            }
            .navigationBarTitle("Books list", displayMode: .large)
        }
        .navigationViewStyle(StackNavigationViewStyle())
    }
}
The final result should be without a disclosure indicator and is highly customizable.
NOTE: We are applying StackNavigationViewStyle() as SwiftUI expects only one view to be presented at a time. Also, if we add some navigation bar items in our bar, it can span to some undesired behaviors and abuse of the code overall.